Why I built this
I used to play Club Penguin when I was around ten years old. It belonged to a wonderfully simple part of life: finishing schoolwork, meeting friends online, wandering around the island, decorating igloos, collecting coins, and playing minigames without thinking about anything more serious than what to do next.
The game was never only about winning. A large part of the fun was simply being there with friends. We could meet in the Town, visit one another’s igloos, try to earn enough coins for an item, or spend far too long playing the same minigame. Those small moments felt important because the people sharing them were important.
Eventually Club Penguin closed. Life continued, everyone became busier, and the free time that once seemed endless slowly disappeared. I do not really have time to sit down and play those games now, but I still wanted to preserve a little doorway back to that period.
That became this homelab project: a private Club Penguin server running inside its own virtual machine. It is not something I expect to play every day. It exists because hearing the music, seeing the old login screen, and walking onto the island again is enough to bring back a decade of memories.
This document records how I built it. The public hostname has deliberately been omitted; anyone following the guide should substitute their own local addresses and hostname.
This is a personal, non-commercial preservation and learning project. Use only game files and artwork that you are legally allowed to use, and do not present the server as an official Disney service.
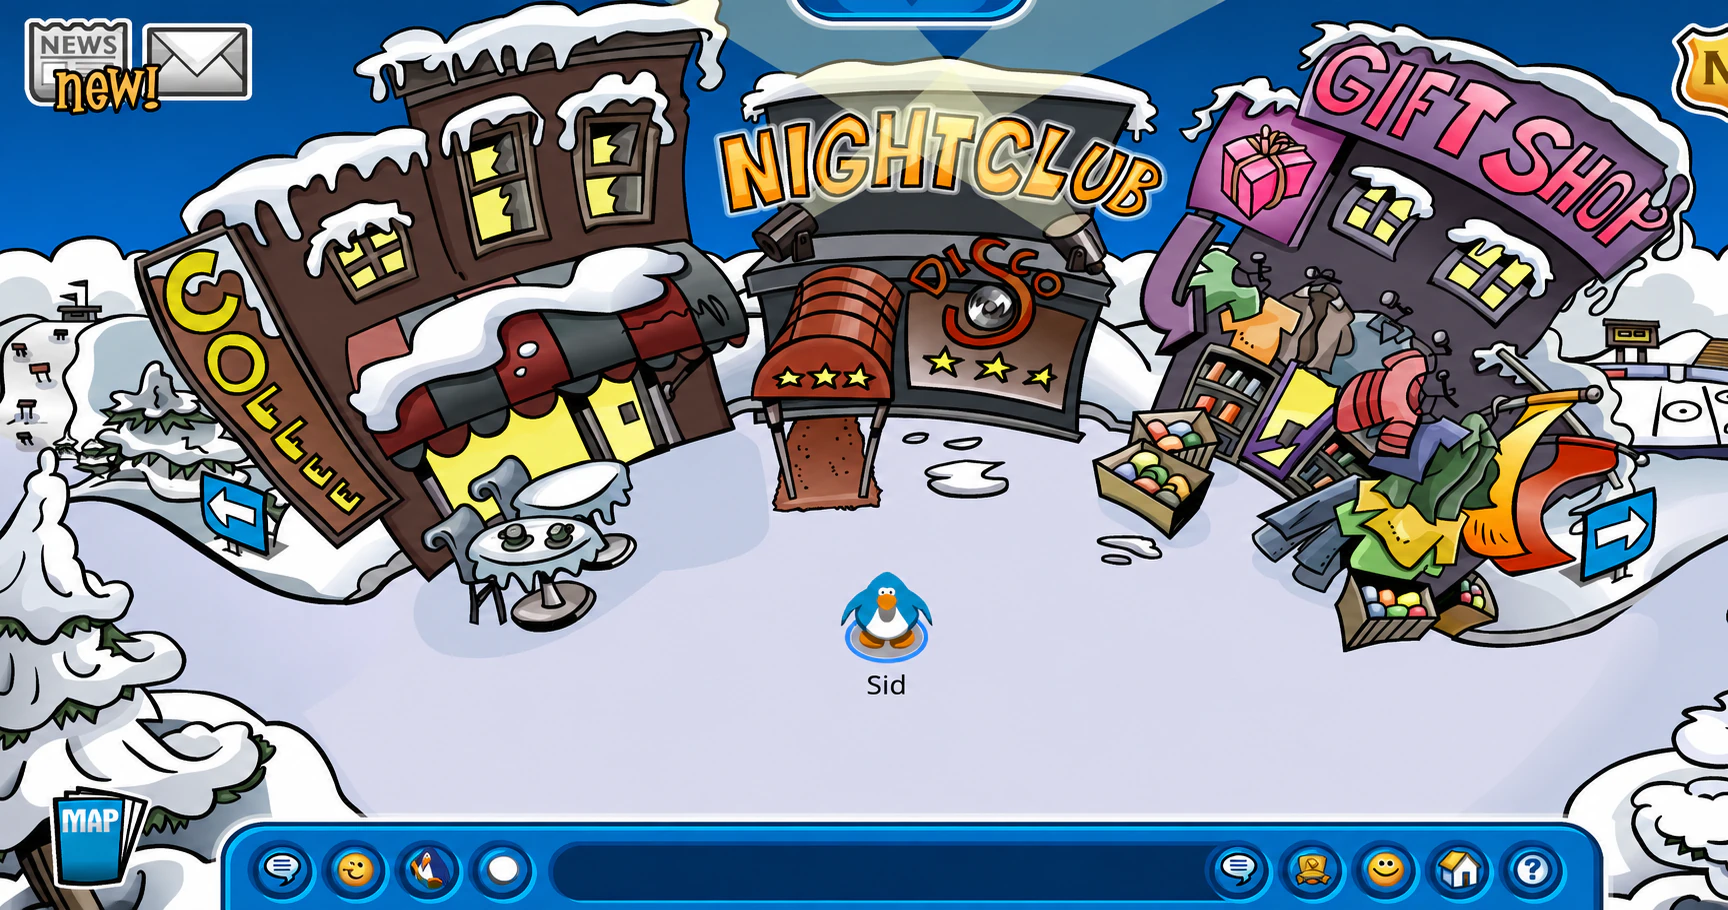
What the finished system looks like
The final setup consists of:
- A Proxmox virtual machine running Ubuntu Server 24.04 LTS
- Docker Engine and Docker Compose
- Wand as the containerized CPPS stack
- PostgreSQL for player data and Redis for runtime state
- Houdini login and world servers
- Snowflake and the bundled web/dashboard services
- A self-hosted Ruffle web player in place of the discontinued Adobe Flash Player
- Websockify bridges that translate browser WebSockets into the original game TCP connections
- Nginx serving the website, Flash assets, and WebSocket routes
- Portainer for viewing and managing the containers
- An outbound Cloudflare Tunnel for optional remote access

The browser never connects directly to PostgreSQL, Redis, or a Houdini TCP port. It loads the game from Nginx and uses secure WebSocket paths on that same web origin. Nginx forwards those paths to Websockify, and Websockify connects to the correct internal game service.
1. Creating the virtual machine
I created a new VM in Proxmox with the following configuration:
| Setting | Value used |
|---|---|
| VM name | club-penguin |
| Operating system | Ubuntu Server 24.04 LTS, 64-bit |
| Machine type | q35 |
| BIOS | SeaBIOS |
| CPU | 2 cores, CPU type host |
| Memory | 4 GiB |
| Disk | 40 GiB, SCSI with VirtIO SCSI controller |
| Network | VirtIO adapter on vmbr0 |
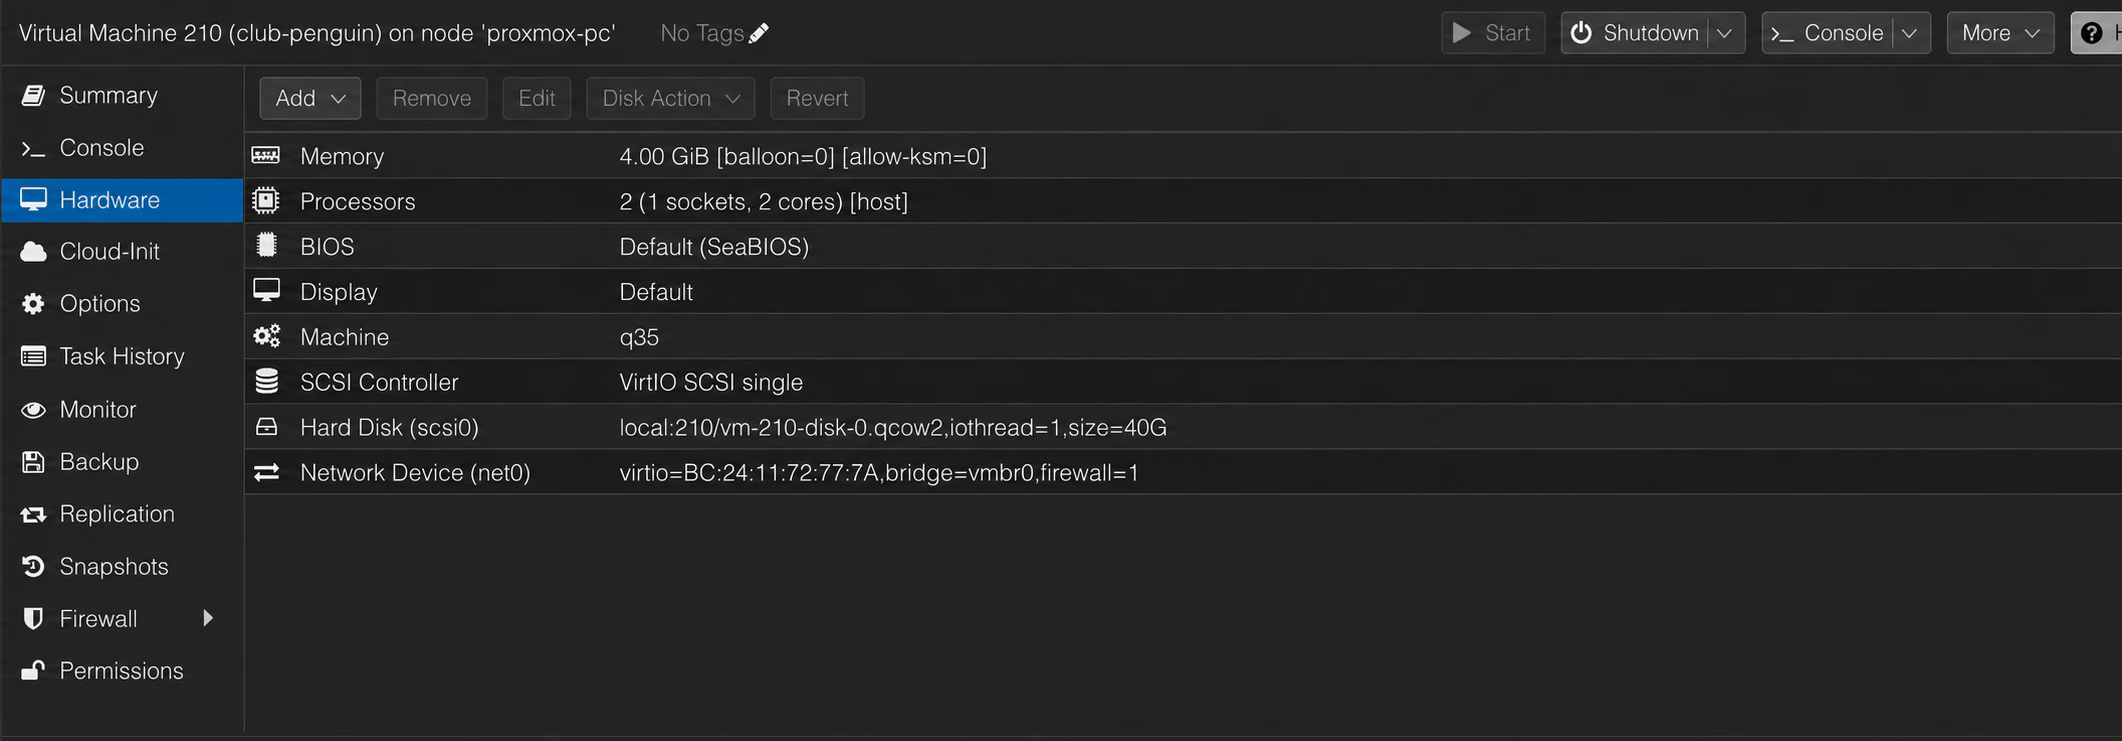
The original disk was 20 GiB, but I expanded it to 40 GiB before installing the large collection of game media. Ubuntu recognized the expanded root partition, leaving roughly 31 GiB free immediately after installation.
During Ubuntu installation I used:
- Hostname:
clubpenguin - Username:
clubpenguin - OpenSSH server: enabled
After installation, I detached the Ubuntu ISO from the virtual CD/DVD drive and booted from the virtual disk.
The QEMU guest agent was installed, but it could not start because the VM did not have the corresponding VirtIO guest-agent channel attached in Proxmox. This was not required for Docker or the game server, so I left it disabled. It can be enabled later by adding the QEMU Guest Agent device in the Proxmox VM options.
2. Updating Ubuntu and checking the VM
On the new server I ran:
sudo apt update
sudo apt full-upgrade -y
sudo apt install -y ca-certificates curl git unzip
sudo reboot
After reconnecting with SSH, I verified the system:
hostnamectl
ip -br address
ip route
lsblk
df -h /
The VM received 192.168.1.150/24. I reserved that address for the VM in the router’s DHCP configuration so it would not change later. A DHCP reservation is usually easier to maintain than a manually configured static address inside Ubuntu.
3. Installing Docker Engine and Compose
I installed Docker from Docker’s official Ubuntu repository rather than Ubuntu’s older distribution package:
sudo install -m 0755 -d /etc/apt/keyrings
sudo curl -fsSL https://download.docker.com/linux/ubuntu/gpg \
  -o /etc/apt/keyrings/docker.asc
sudo chmod a+r /etc/apt/keyrings/docker.asc

ARCHITECTURE="$(dpkg --print-architecture)"
. /etc/os-release
UBUNTU_RELEASE="${UBUNTU_CODENAME:-$VERSION_CODENAME}"

printf '%s\n' \
  'Types: deb' \
  'URIs: https://download.docker.com/linux/ubuntu' \
  "Suites: ${UBUNTU_RELEASE}" \
  'Components: stable' \
  "Architectures: ${ARCHITECTURE}" \
  'Signed-By: /etc/apt/keyrings/docker.asc' \
  | sudo tee /etc/apt/sources.list.d/docker.sources >/dev/null

sudo apt update
sudo apt install -y docker-ce docker-ce-cli containerd.io \
  docker-buildx-plugin docker-compose-plugin
sudo systemctl enable --now docker
sudo usermod -aG docker "$USER"
I logged out and back in so the new Docker group membership took effect, then checked the installation:
docker run --rm hello-world
docker --version
docker compose version
systemctl is-active docker
4. Downloading and configuring Wand
I cloned Wand into the service account’s home directory:
cd /home/clubpenguin
git clone https://github.com/solero/wand.git
cd wand
The .env file was configured for the VM and for private local DNS names:
WEB_PORT=80
WEB_HOSTNAME=cpps.home.arpa
WEB_LEGACY_PLAY=http://old.cpps.home.arpa
WEB_LEGACY_MEDIA=http://legacy.cpps.home.arpa
WEB_VANILLA_PLAY=http://play.cpps.home.arpa
WEB_VANILLA_MEDIA=http://media.cpps.home.arpa

WEB_RECAPTCHA_SITE=
WEB_RECAPTCHA_SECRET=

GAME_ADDRESS=192.168.1.150
GAME_LOGIN_PORT=6112
SNOWFLAKE_HOST=192.168.1.150
SNOWFLAKE_PORT=7002

EMAIL_METHOD=
EMAIL_SMTP_PORT=465
Secrets generated by the project, including the PostgreSQL password, were kept in .env and are intentionally not included here.
On the computer used to play the game, I added temporary local DNS entries. A proper internal DNS server can be used instead:
192.168.1.150 play.cpps.home.arpa media.cpps.home.arpa old.cpps.home.arpa legacy.cpps.home.arpaOn macOS or Linux, those entries can be added to /etc/hosts. Windows uses C:\Windows\System32\drivers\etc\hosts.
5. Adjusting the Compose stack
I named the Compose project clubpenguin, removed unnecessary published database ports, bound all required ports to the VM’s LAN address, and used Redis 7.4 because newer Redis protocol negotiation was not compatible with this Houdini build.
The important part of docker-compose.override.yml began like this:
name: clubpenguin

services:
  db:
    ports: !reset []

  redis:
    image: redis:7.4-alpine
    ports: !reset []

  dash:
    ports: !reset []

  web:
    ports: !override
      - "192.168.1.150:${WEB_PORT}:80"

  houdini_login:
    ports: !override
      - "192.168.1.150:${GAME_LOGIN_PORT}:${GAME_LOGIN_PORT}"
The world servers were bound to ports 9875 through 9878, and Snowflake was bound to port 7002. PostgreSQL, Redis, and the dashboard remained accessible only on the Docker network.
6. Restoring Flash content with Ruffle
Modern browsers no longer support Adobe Flash. I downloaded a self-hosted Ruffle web build and placed it in both the legacy and vanilla play directories:
/home/clubpenguin/wand/legacy-media/play/ruffle/
/home/clubpenguin/wand/vanilla-media/play/ruffle/
I placed ruffle-config.js beside each player and loaded it before ruffle.js in every language’s play-page template:
<script src="/ruffle-config.js?v=6"></script>
<script src="/ruffle/ruffle.js"></script>
The version query is deliberate. It prevents a browser from continuing to use an older socket configuration after an update.
The Flash bootloader was also changed to load from the same web origin:
<object data="/boots.swf" type="application/x-shockwave-flash">Serving boots.swf, servers.xml, and /play/ from the same origin avoided the initial Ruffle CORS failure. The Nginx media virtual hosts also received these headers where cross-origin asset loading was still necessary:
add_header Access-Control-Allow-Origin "*" always;
add_header Cross-Origin-Resource-Policy "cross-origin" always;
The live Ruffle files are in legacy-media/play and vanilla-media/play. This detail matters: changing only a template or a separate copy of ruffle-config.js does not update the bind-mounted files served by the running web container.
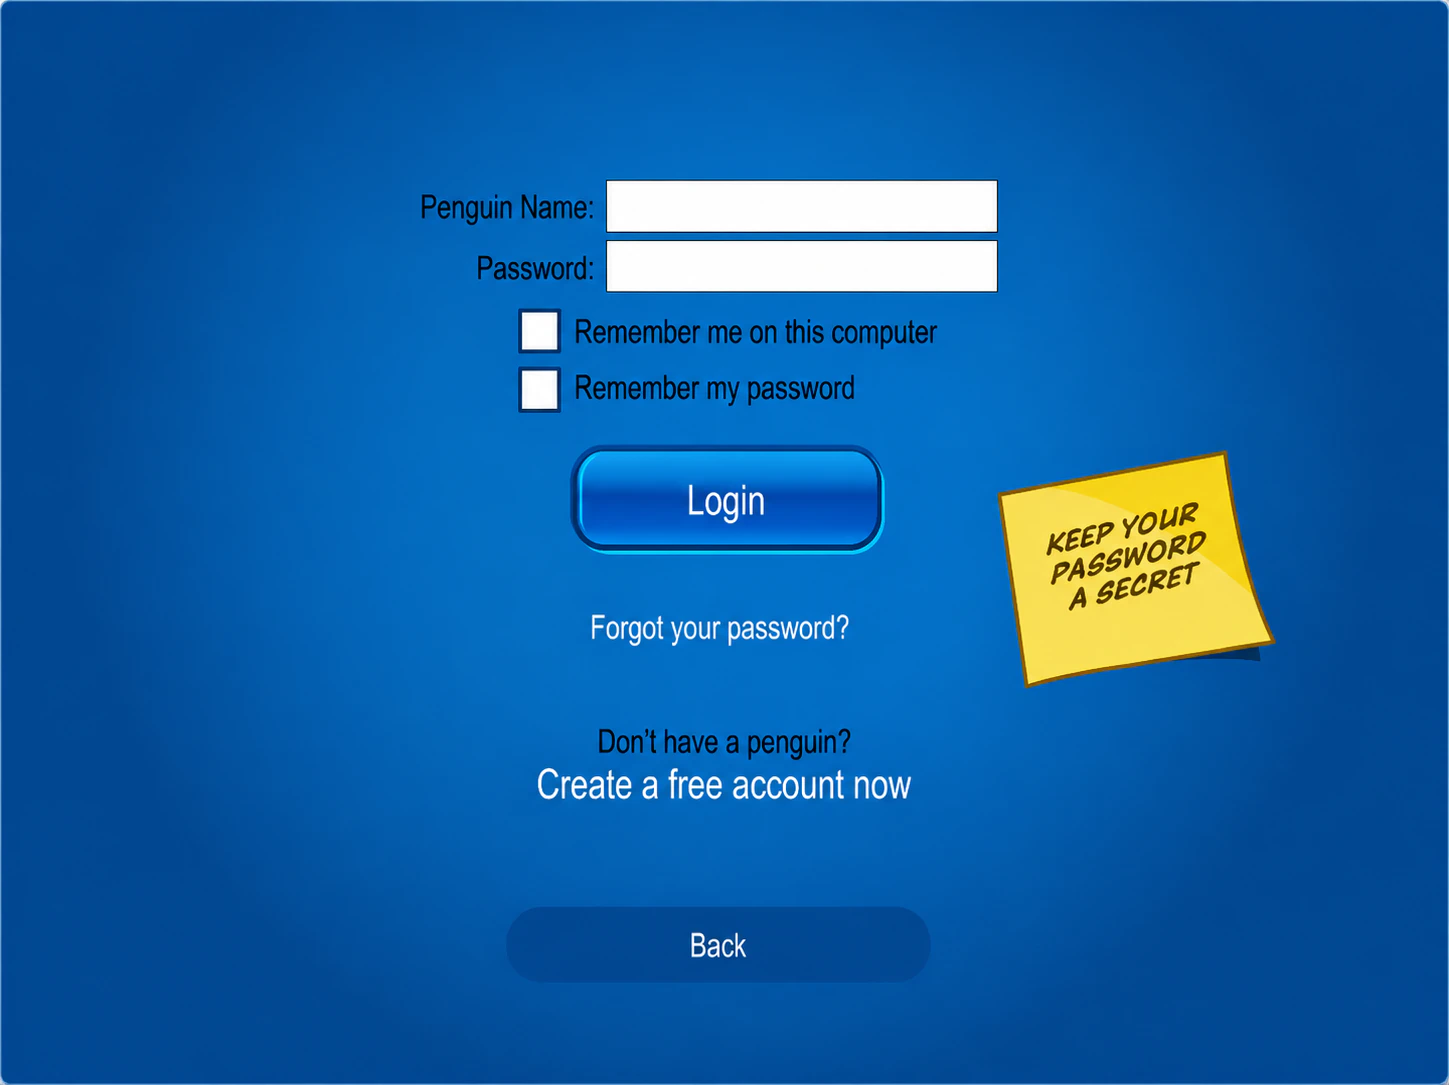
7. Bridging browser WebSockets to the game servers
The original client uses raw TCP sockets, which a browser cannot open. I created a small Websockify image at websockify/Dockerfile:
FROM python:3.12-alpine

RUN pip install --no-cache-dir websockify==0.13.0

ENTRYPOINT ["websockify"]
Six bridge services were added to the Compose override:
| Browser-facing LAN port | Container target | Purpose |
|---|---|---|
16112 |
houdini_login:6112 |
Login |
17002 |
snowflake:7002 |
Snowflake |
19875 |
houdini_blizzard:9875 |
Blizzard |
19876 |
houdini_glaciar:9876 |
Glaciar |
19877 |
houdini_avalanche:9877 |
Avalanche |
19878 |
houdini_yeti:9878 |
Yeti |
For example, the login bridge is:
services:
  socket_login:
    build: ./websockify
    restart: always
    command: ["80", "houdini_login:6112"]
    networks:
      - wand
    ports:
      - "192.168.1.150:16112:80"
    depends_on:
      - houdini_login
The other five services use the same structure with their corresponding targets and ports.
For remote browser access, Nginx exposes same-origin paths and upgrades them to WebSockets:
location /socket/login {
    proxy_pass http://socket_login:80;
    proxy_http_version 1.1;
    proxy_set_header Upgrade $http_upgrade;
    proxy_set_header Connection "upgrade";
    proxy_read_timeout 3600s;
}
I repeated that block for:
/socket/snowflake
/socket/blizzard
/socket/glaciar
/socket/avalanche
/socket/yeti
The final Ruffle socket map supports both direct LAN play and secure WebSockets through the tunnel. The public hostname is represented by a placeholder below and is not the real hostname from this deployment:
const publicGameHost = "YOUR_PUBLIC_HOSTNAME";
const usePublicTunnel = window.location.hostname === publicGameHost;
const proxyUrl = (name, localPort) => usePublicTunnel
  ? `wss://${publicGameHost}/socket/${name}`
  : `ws://192.168.1.150:${localPort}`;

const socketPorts = [
  { name: "login", port: 6112, localPort: 16112 },
  { name: "snowflake", port: 7002, localPort: 17002 },
  { name: "blizzard", port: 9875, localPort: 19875 },
  { name: "glaciar", port: 9876, localPort: 19876 },
  { name: "avalanche", port: 9877, localPort: 19877 },
  { name: "yeti", port: 9878, localPort: 19878 }
];

window.RufflePlayer = window.RufflePlayer || {};
window.RufflePlayer.config = {
  autoplay: "on",
  unmuteOverlay: "hidden",
  logLevel: "warn",
  allowNetworking: "all",
  allowScriptAccess: true,
  socketProxy: [
    {
      host: publicGameHost,
      port: 0,
      proxyUrl: proxyUrl("login", 16112)
    },
    ...socketPorts.flatMap(({ name, port, localPort }) =>
      ["192.168.1.150", publicGameHost].map((host) => ({
        host,
        port,
        proxyUrl: proxyUrl(name, localPort)
      }))
    )
  ]
};
The port-0 mapping is essential for this particular legacy client. Its 2010 bootloader asks Flash to connect to the current web host on port 0. Without an explicit Ruffle mapping, the page waits and eventually displays error c0, even though every server container is healthy.
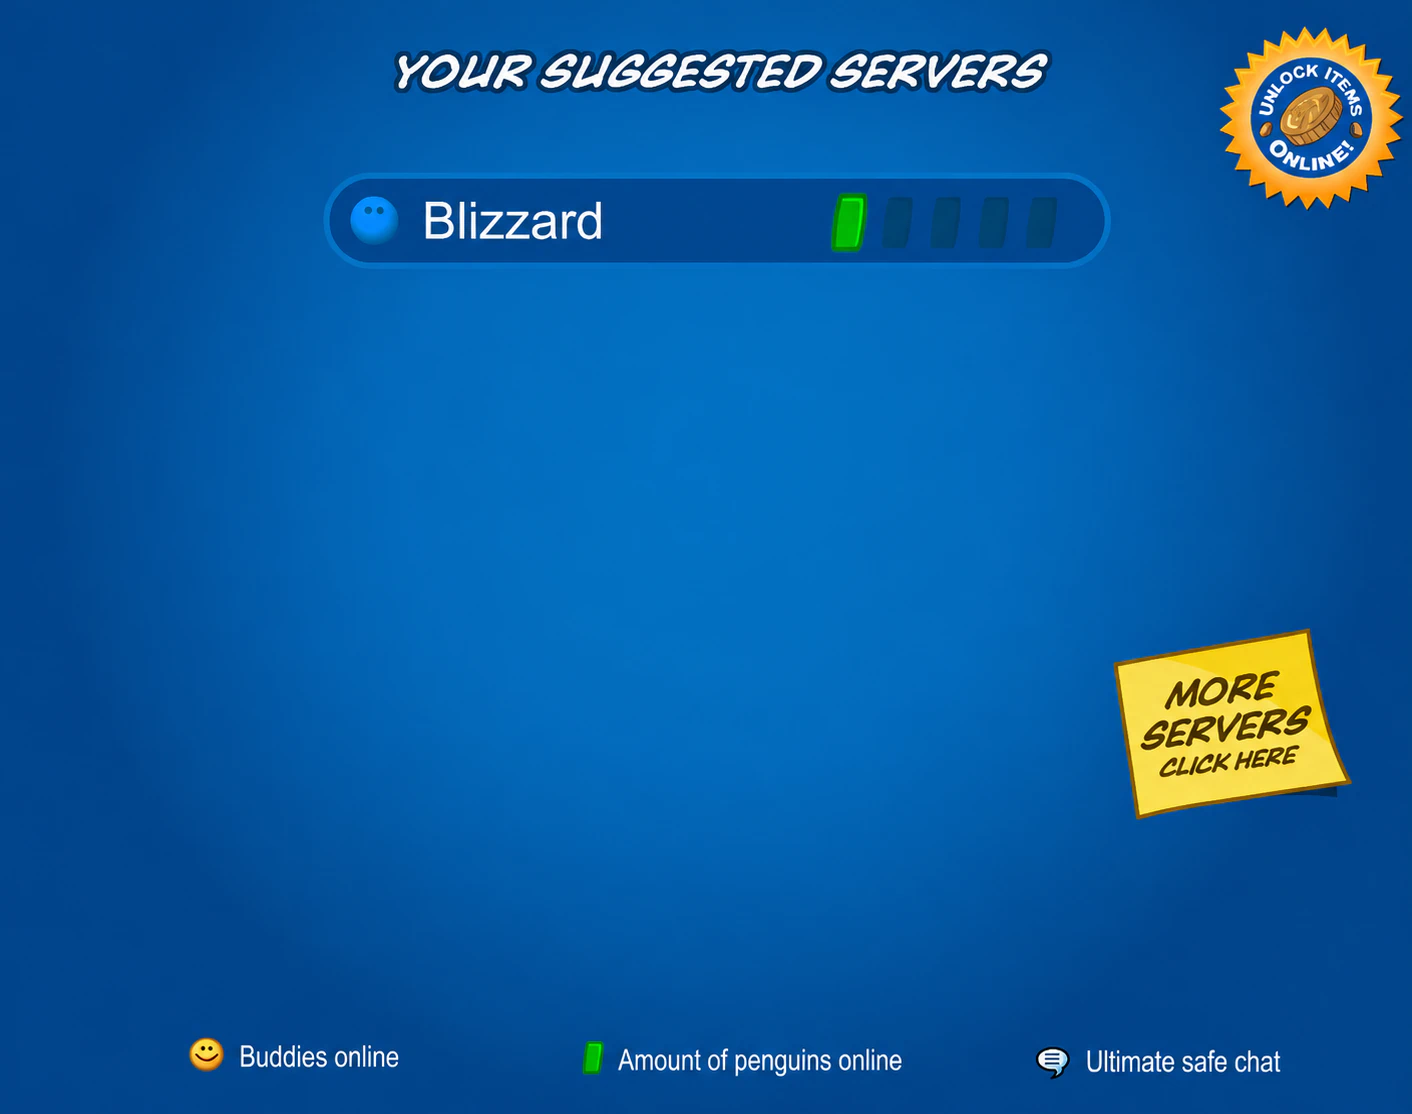
8. Starting and checking the game stack
I built and started the complete project:
cd /home/clubpenguin/wand
docker compose up -d --build
docker compose ps
Useful diagnostic commands are:
docker compose logs --since=10m --no-color web
docker compose logs --since=10m --no-color socket_login houdini_login
docker compose exec -T web nginx -t
When a browser login reaches the server, the expected chain appears in the logs:
WebSocket connection
Path: '/socket/login'
connecting to: houdini_login:6112
<penguin name> is logging in!
9. Installing Portainer
I created /home/clubpenguin/portianer/portainer-compose.yaml. The spelling of portianer is intentional because that is the persistent path used in this deployment:
name: portainer

services:
  portainer:
    container_name: portainer
    image: portainer/portainer-ce:lts
    restart: always
    volumes:
      - /var/run/docker.sock:/var/run/docker.sock
      - /home/clubpenguin/portianer:/data
    ports:
      - "192.168.1.150:9443:9443"

networks:
  default:
    name: portainer_network
I started it with:
cd /home/clubpenguin/portianer
docker compose up -d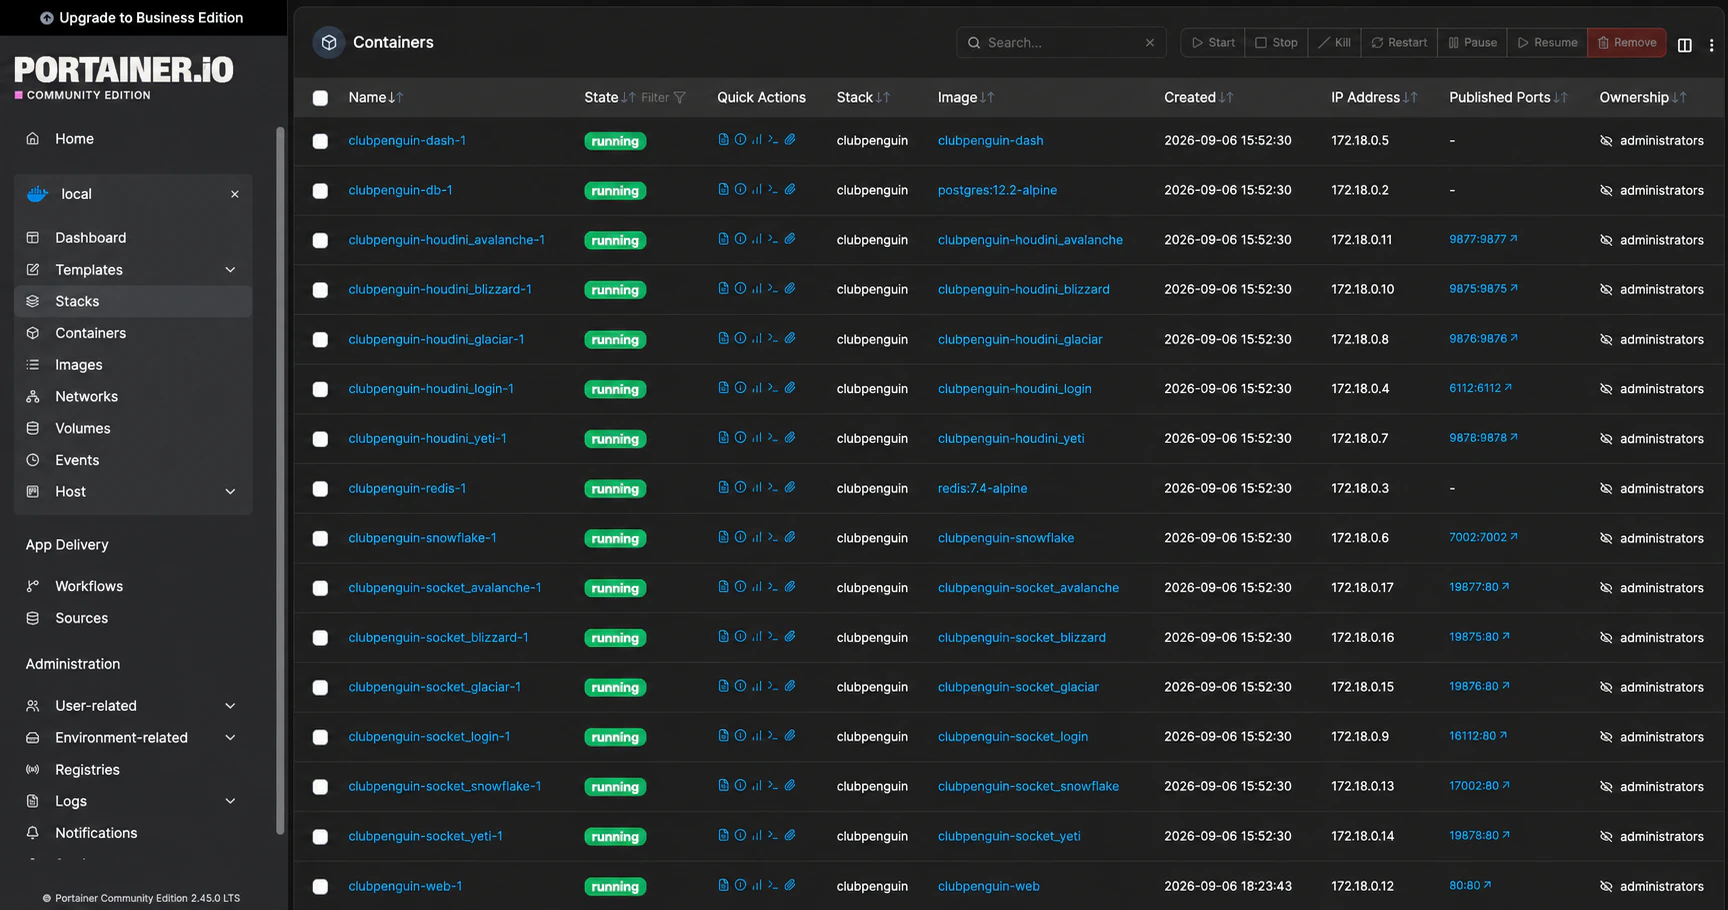
Portainer then became available over HTTPS on the VM’s LAN address and port 9443. Its self-signed certificate produces a browser warning on first access.
If the initial administrator page returns 403, the setup token has probably expired. Restart the Portainer container, reload the initialization page, and use the new setup token shown in the Portainer logs.
The Portainer stack is named portainer, and the game stack is named clubpenguin. Many ports shown beside the game containers are raw game or WebSocket ports, not normal websites, so clicking every port in Portainer is not expected to open a page.
10. Adding optional remote access
I already had a Cloudflare Tunnel connector in the homelab, so I added one public hostname in the Cloudflare dashboard. It forwards ordinary HTTP traffic to:
http://192.168.1.150:80No individual public routes were created for ports 6112, 7002, or 9875 through 9878. Browser traffic stays on HTTPS and uses the /socket/... WebSocket paths handled by Nginx. The tunnel itself makes an outbound connection to Cloudflare, so no inbound router port-forwarding is required.
For a private-only installation, this entire tunnel step can be omitted. The four .home.arpa names continue to work on the LAN.
11. Creating and approving a penguin
Once the local play page loaded correctly, I created a penguin account and activated it. At first the game displayed an automatic identifier such as P102 instead of the chosen name. That meant the account existed, but the penguin name had not yet been approved for display.
Using the project’s manager interface, I marked the account active and approved its name for all supported languages. After logging in again, the selected penguin name appeared normally.
I did not expose PostgreSQL or Redis to the network for this. Account administration remained inside the application and Docker network.
Problems encountered and what fixed them
Ruffle reported a CORS error
The old page tried to load boots.swf and other assets from a separate media hostname. Serving the bootloader and /play/ assets from the same Nginx origin fixed the boot failure. Cross-origin headers were retained on the dedicated media hosts where needed.
The local game worked, but the tunneled page could not log in
Loading the website proved only that HTTP was working. Club Penguin also needed socket connections. Raw TCP game ports cannot travel through an ordinary browser or an HTTP-only tunnel route, so Websockify bridges and same-origin Nginx WebSocket locations were added.
The page still ended with error c0
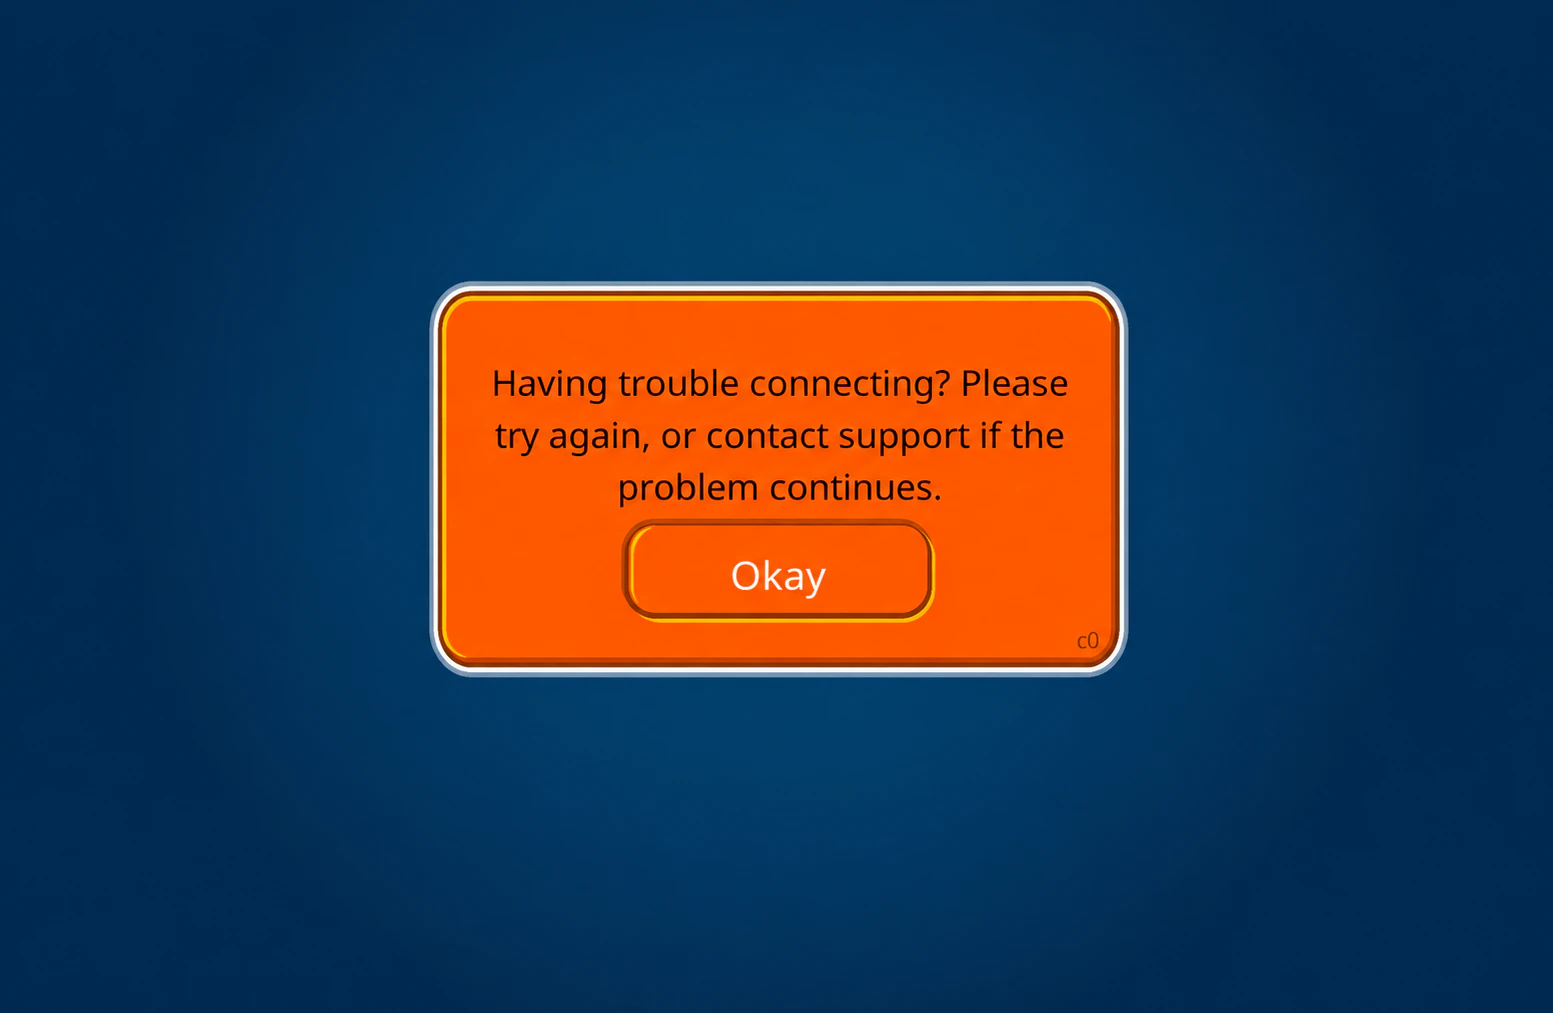
c0 connection error that exposed the missing port-zero socket mapping.Server logs showed that the browser never reached /socket/login. Temporary Ruffle debug logging revealed the exact message:
Missing WebSocket proxy for host <public host>, port 0Adding the explicit current-host/port-0 mapping to the login WebSocket route solved it. A clean-browser test then passed through the tunnel, Nginx, Websockify, and Houdini and received a normal application-level login response.
Configuration changes appeared to do nothing
The web container bind-mounts the live directories:
/home/clubpenguin/wand/legacy-media
/home/clubpenguin/wand/vanilla-media
An earlier correction had been placed only in a template copy. The running container continued serving the older file. Updating both live play/ruffle-config.js files and adding no-cache headers fixed the mismatch.
Redis started, but Houdini could not communicate with it
The Houdini code in this stack did not handle the newer Redis protocol negotiation correctly. Pinning the container to redis:7.4-alpine restored compatibility.
Maintenance notes
Before changing or upgrading anything, I back up:
/home/clubpenguin/wand/.env
/home/clubpenguin/wand/docker-compose.override.yml
/home/clubpenguin/wand/legacy-media
/home/clubpenguin/wand/vanilla-media
/home/clubpenguin/wand/templates
/home/clubpenguin/portianer
The database should also be dumped with PostgreSQL’s backup tools instead of relying only on a live filesystem copy.
Routine status checks are simple:
cd /home/clubpenguin/wand
docker compose ps
docker compose logs --since=30m --no-color

cd /home/clubpenguin/portianer
docker compose ps
Container images and Wand should not be upgraded blindly. This project depends on several older components and protocol assumptions, so I would take a VM snapshot and a database backup before testing any update.
The result
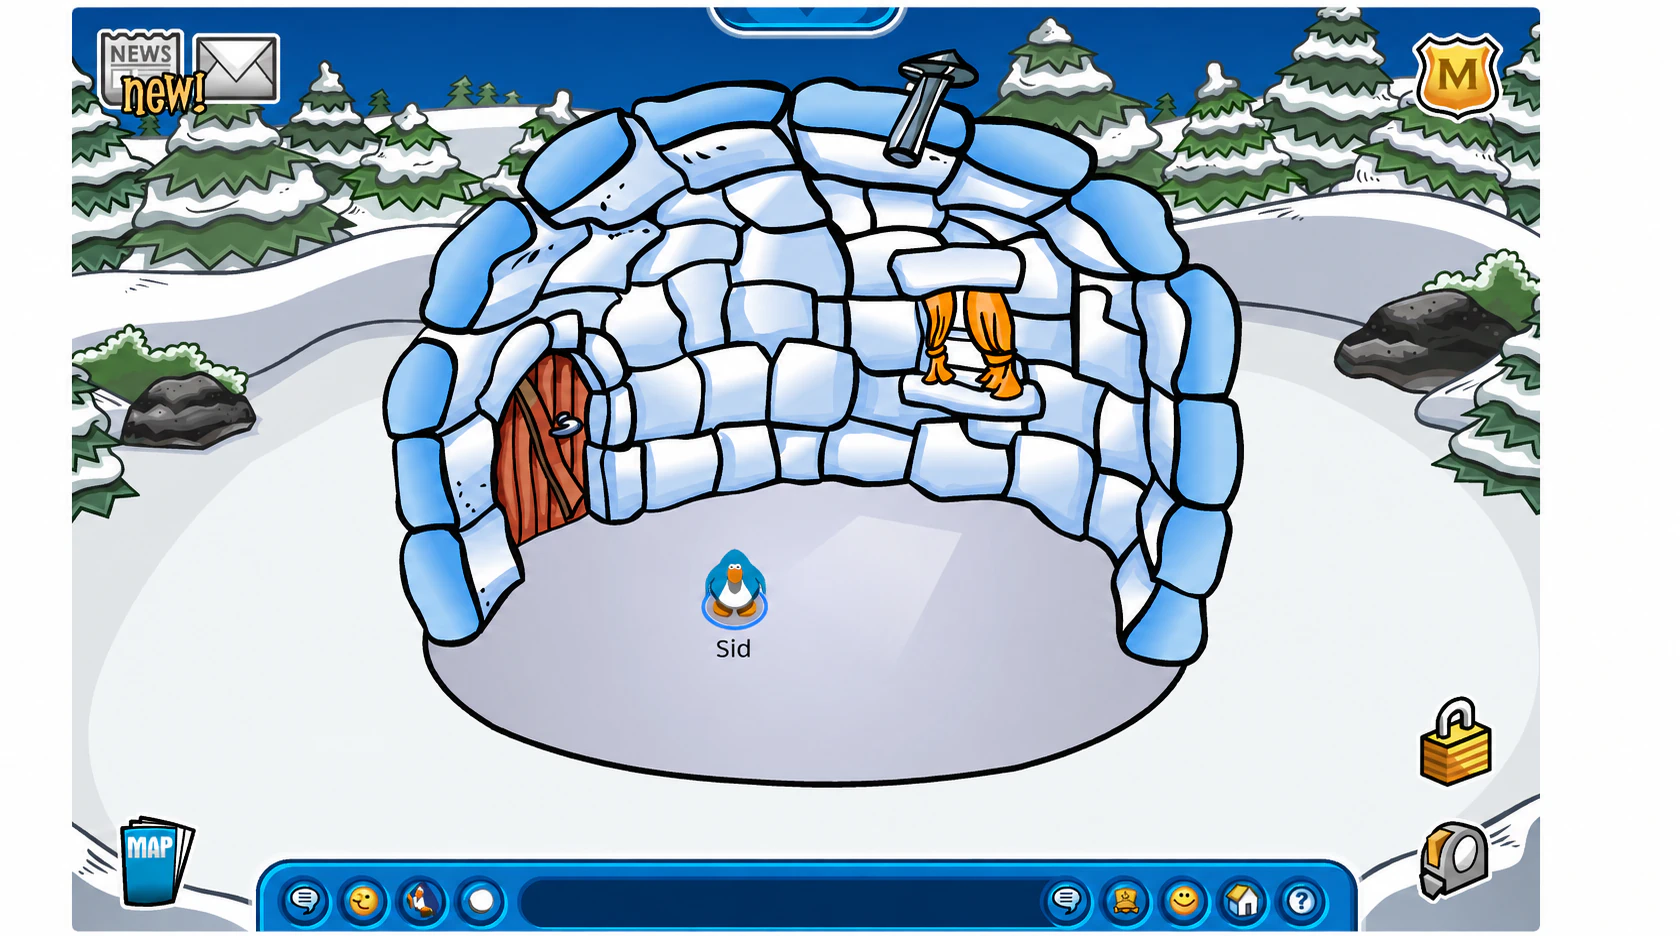
The final moment was wonderfully anticlimactic: the old login screen appeared, the account authenticated, and the penguin entered the game again. Technically, it represented a chain of a VM, containers, databases, Flash emulation, WebSockets, Nginx, and a tunnel all working together. Emotionally, it was much simpler. It felt like opening a door to a room I had not visited since childhood.
I probably will not spend hours playing minigames the way I did when I was ten. That is all right. The point was not to recreate the free time I had then; it was to preserve the memory of it. Now that little island lives quietly in my homelab, ready whenever I feel like visiting.